⚠️
- Make sure that the computer is compatible, as explained in the second chapter.
- Ensure that the computer does not have a virus, as a computer virus can cause disruptions in the computer’s performance and installed software, including the Radonics software..
After making sure that the computer operating system is healthy, install the software in order.
Installation of Microsoft .NET Framework 4 Client Profile software
To download Microsoft .NET Framework 4 Client Profile, scan the barcode below

After downloading the .NET Framework 4 software, double-click on the downloaded file and follow these steps.
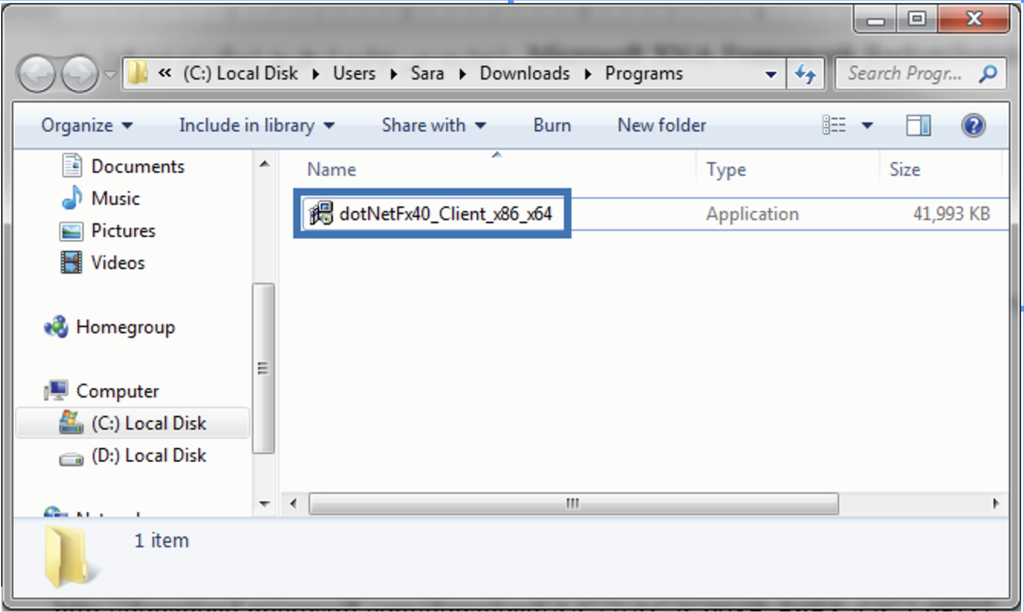
Figure (1)
Figure (2)
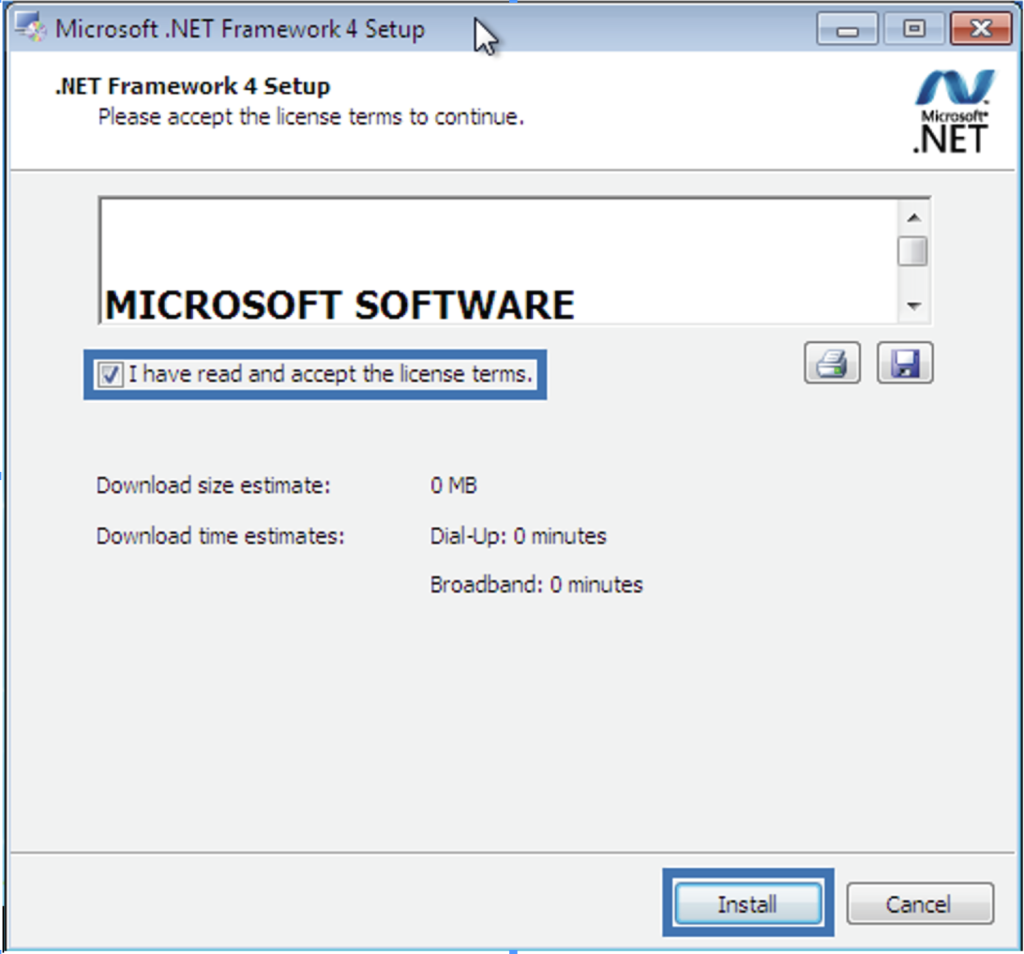
Figure (3)
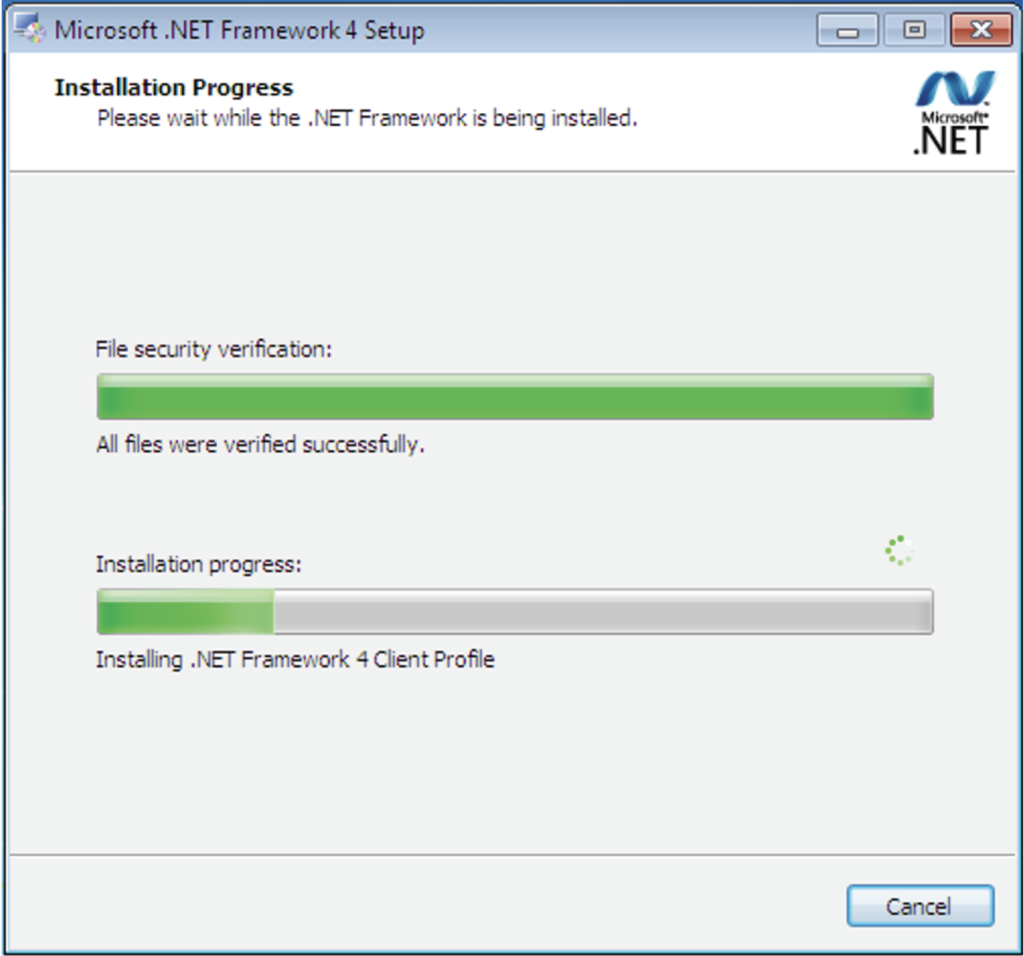
Figure (4)

Figure (5)
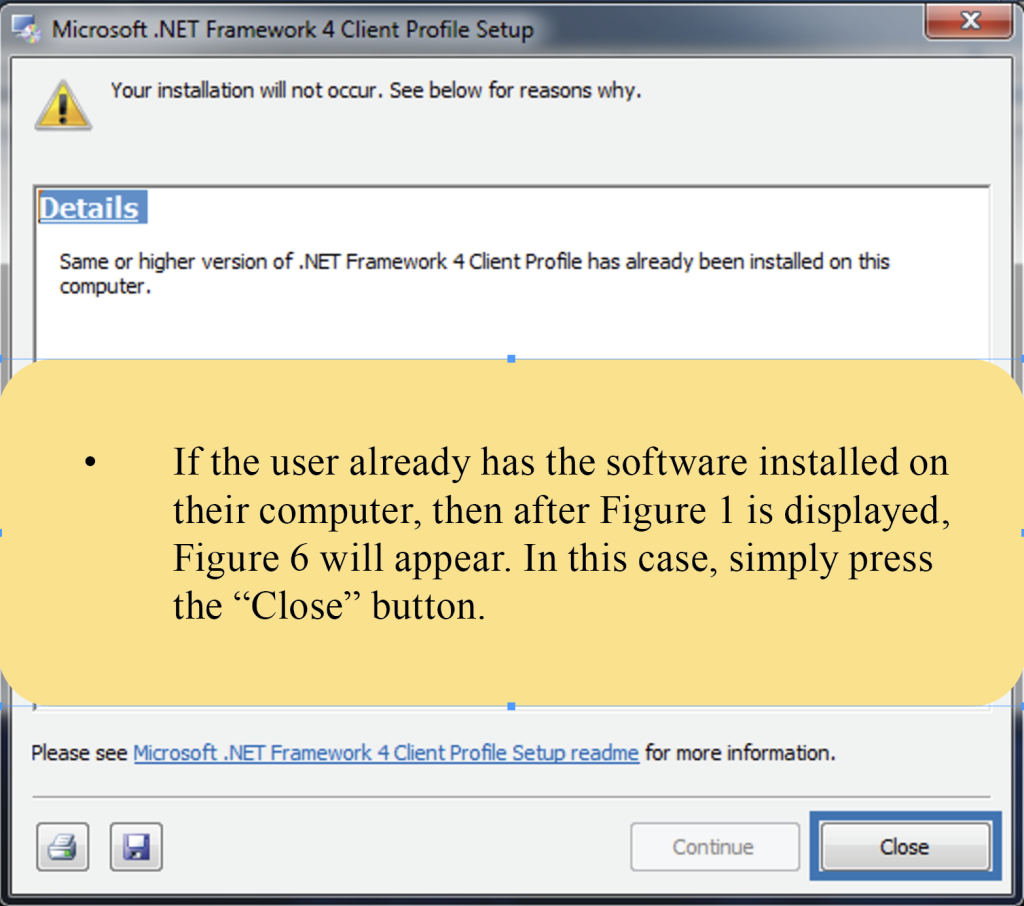
Figure (6)
Installing the Microsoft XNA Framework Redistributable 4.0 software
If you do not have the Microsoft XNA Framework Redistributable 4.0 software, you can download it using the QR code provided

After downloading the Microsoft XNA Framework Redistributable 4.0 software, double-click on the downloaded file and follow the on-screen instructions to install it.
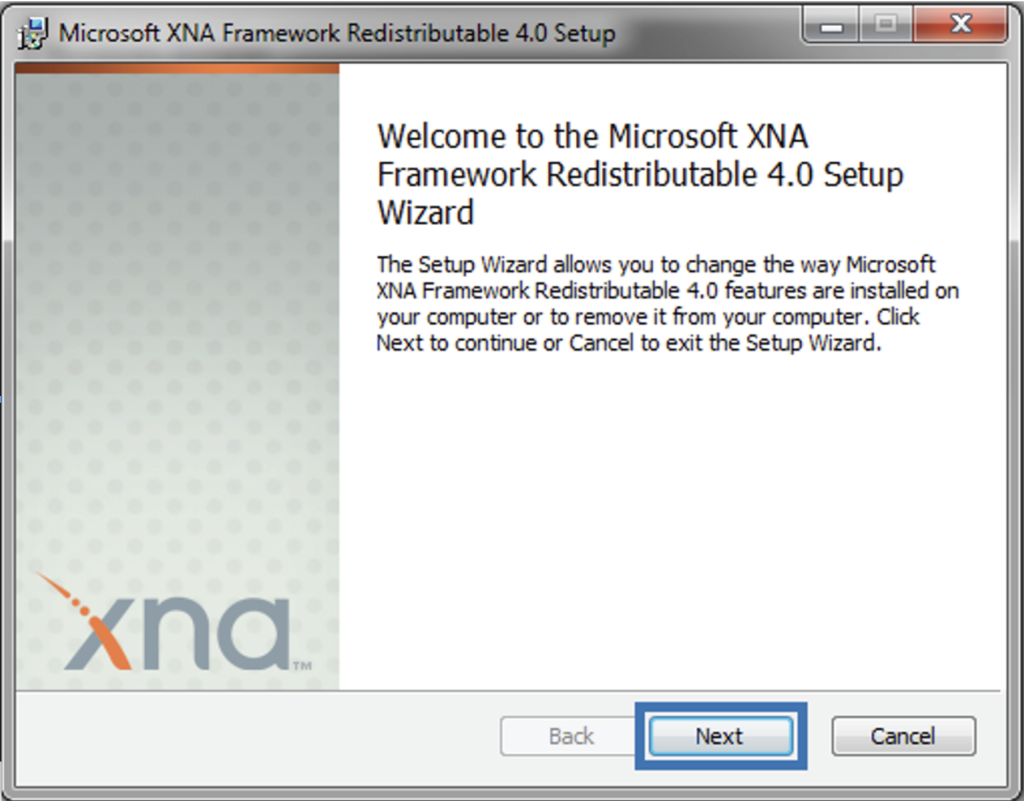 Figure (7)
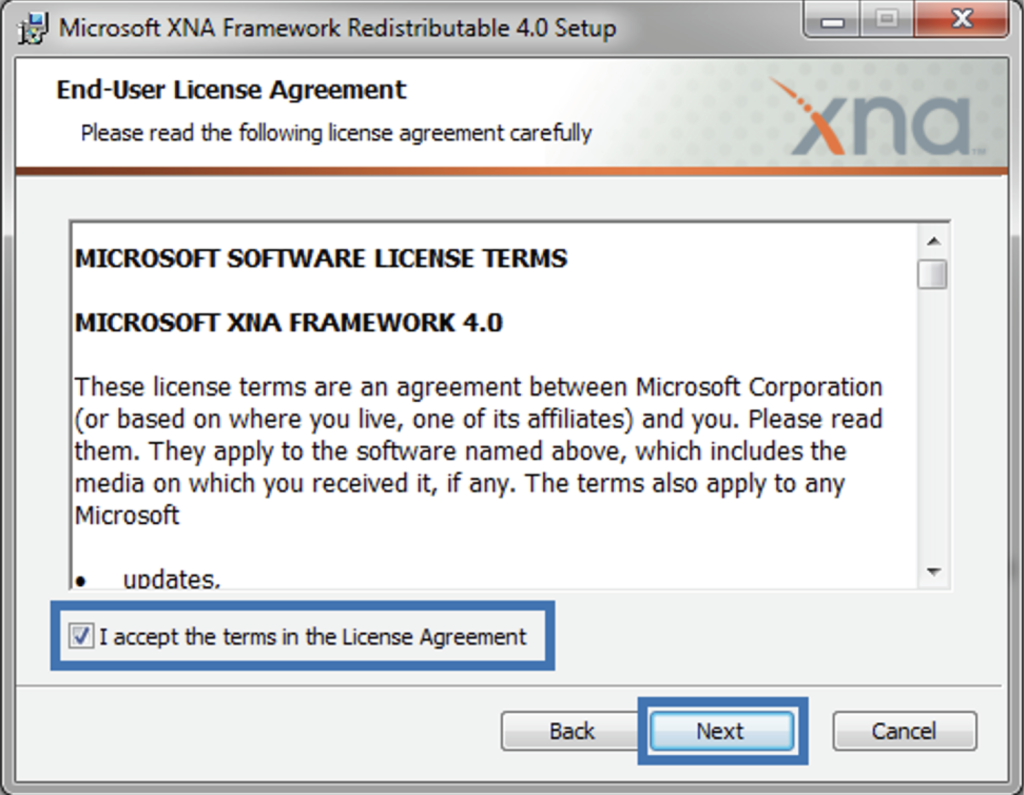 Figure (8)
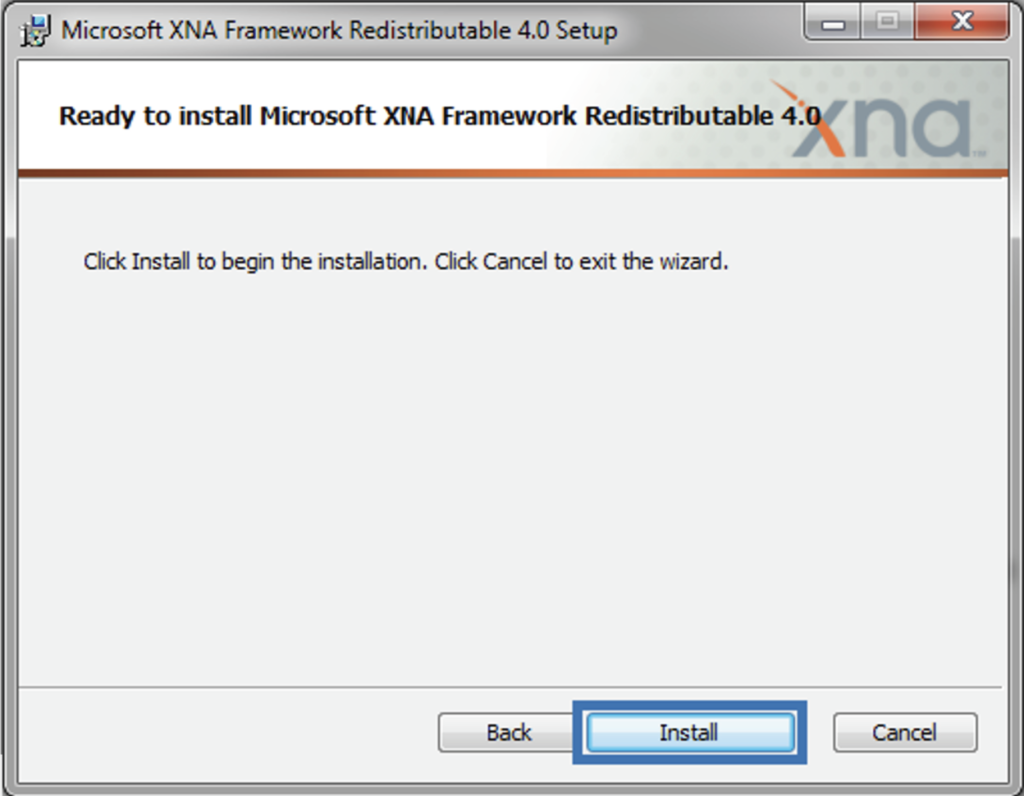 Figure (9)
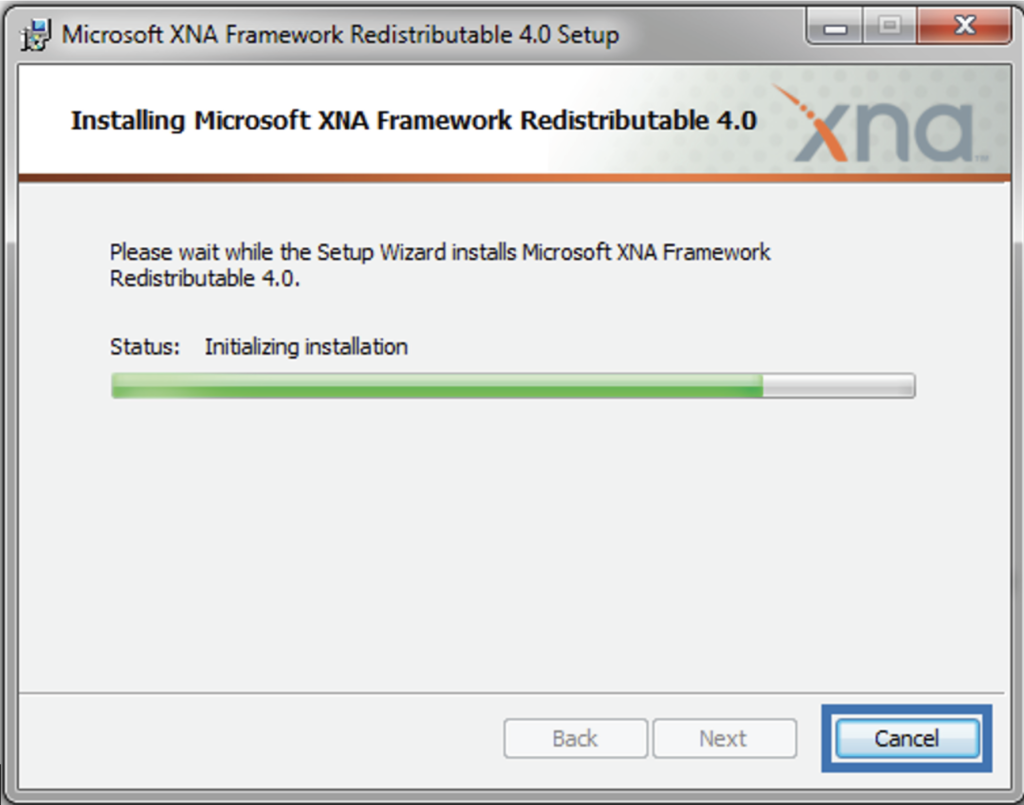 Figure (10)
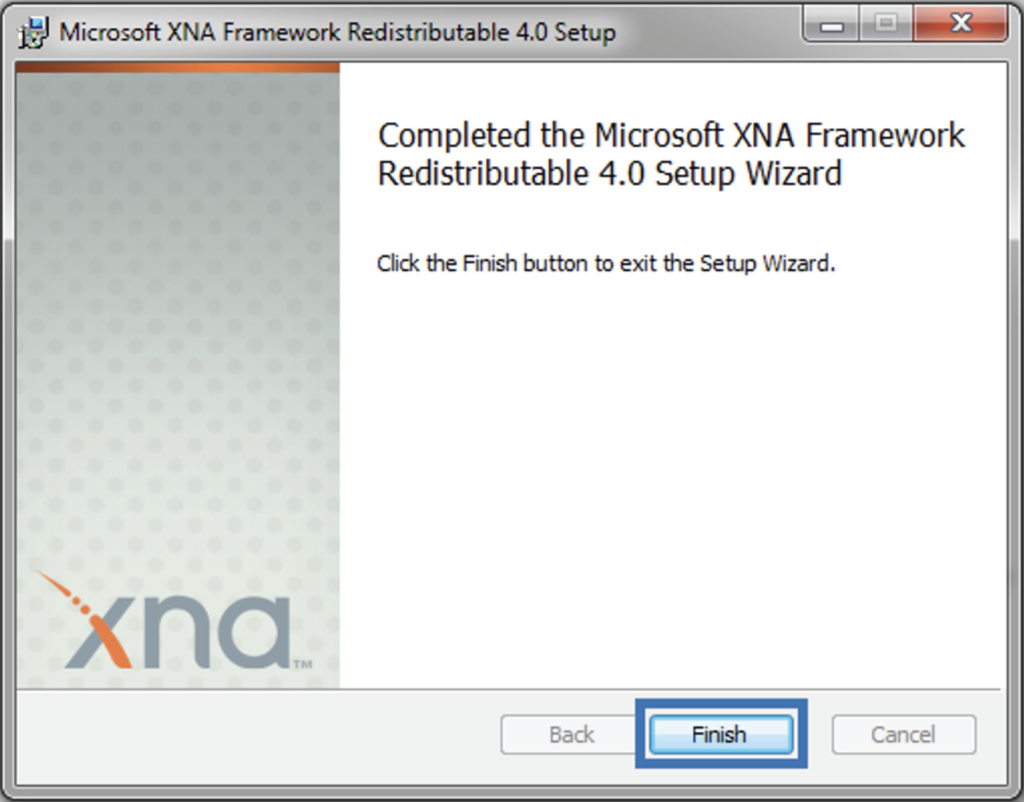 Figure (11)
Installing Radonix CAM-Pro X.X.X software
If you do not have the latest version of the Radonix CAM-Pro X.X.X software (where X represents the latest version number), you can download it by using the link or QR code provided.

After downloading the Radonix CAM-Pro X.X.X software, double-click on the downloaded file and follow the on-screen instructions to install it.
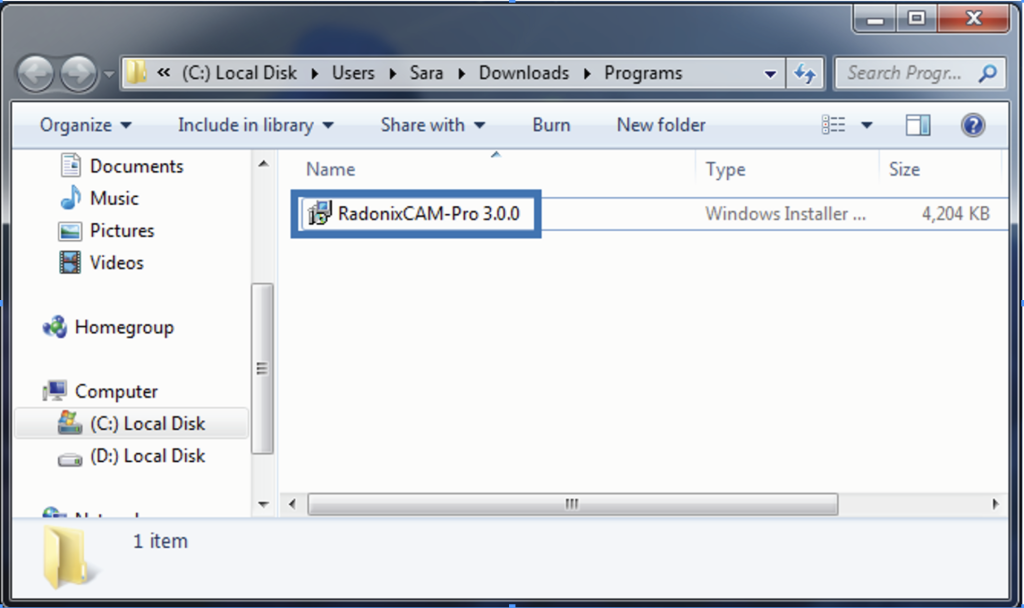 Figure (12)
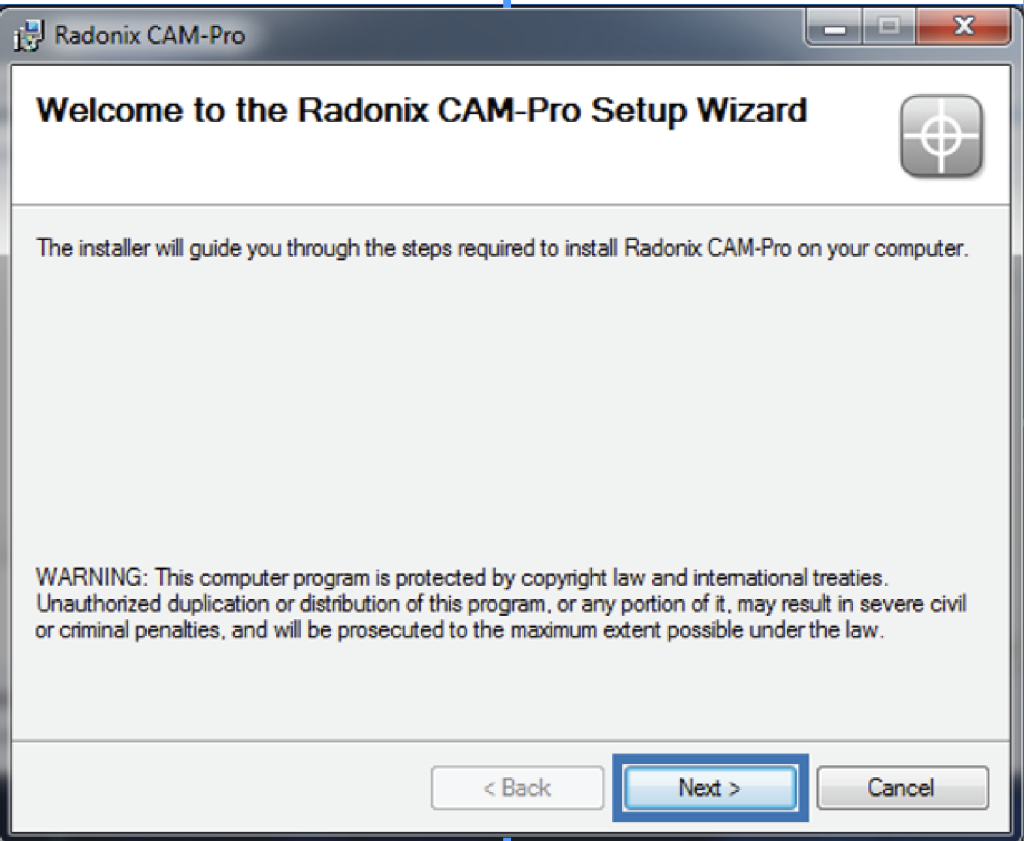 Figure (13)
⚠️ To change the default installation and save the location for the Radonix CAM-Pro software, you need to follow the installation steps outlined in Figures 14 and 15. If you do not wish to change the default location, simply proceed with the installation steps starting from Figure 15 or Step 5 written next to the figure.
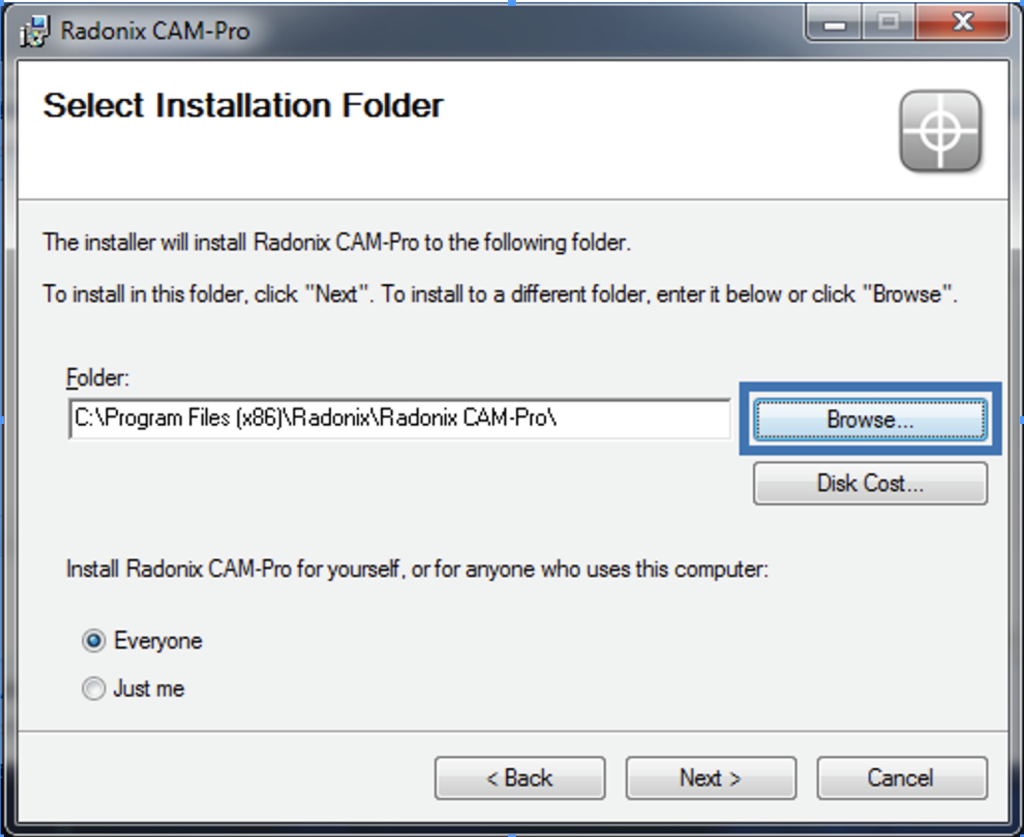 Figure (14)
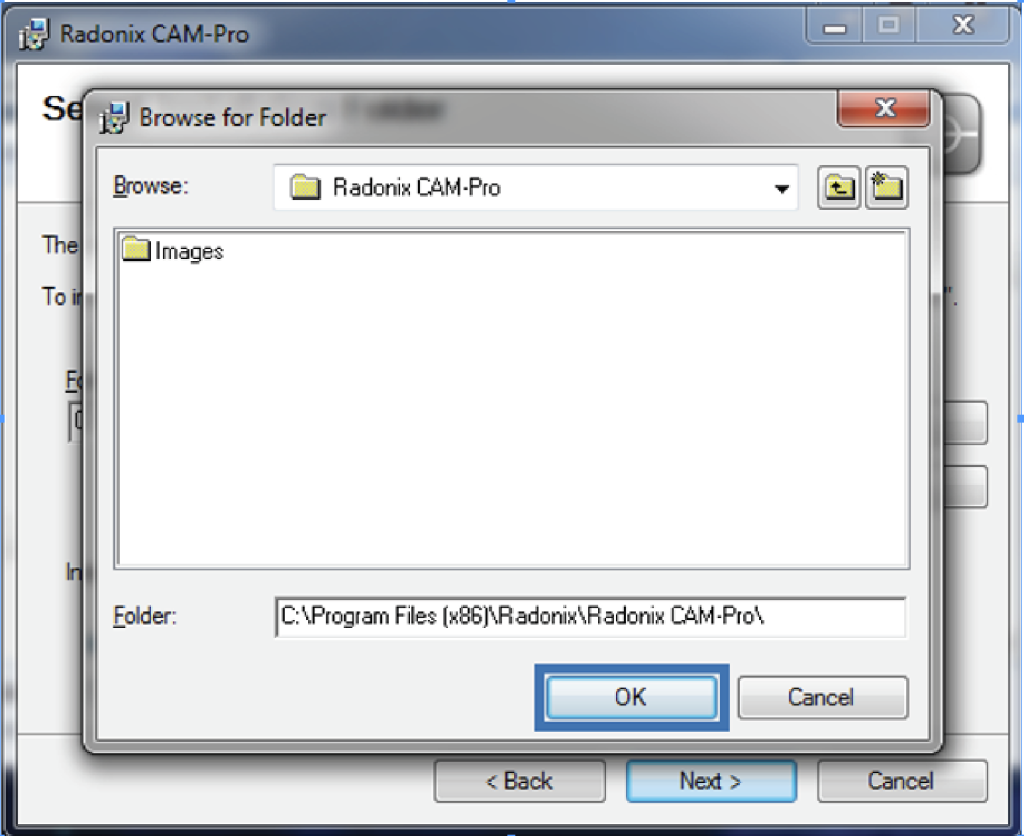 Figure (15)
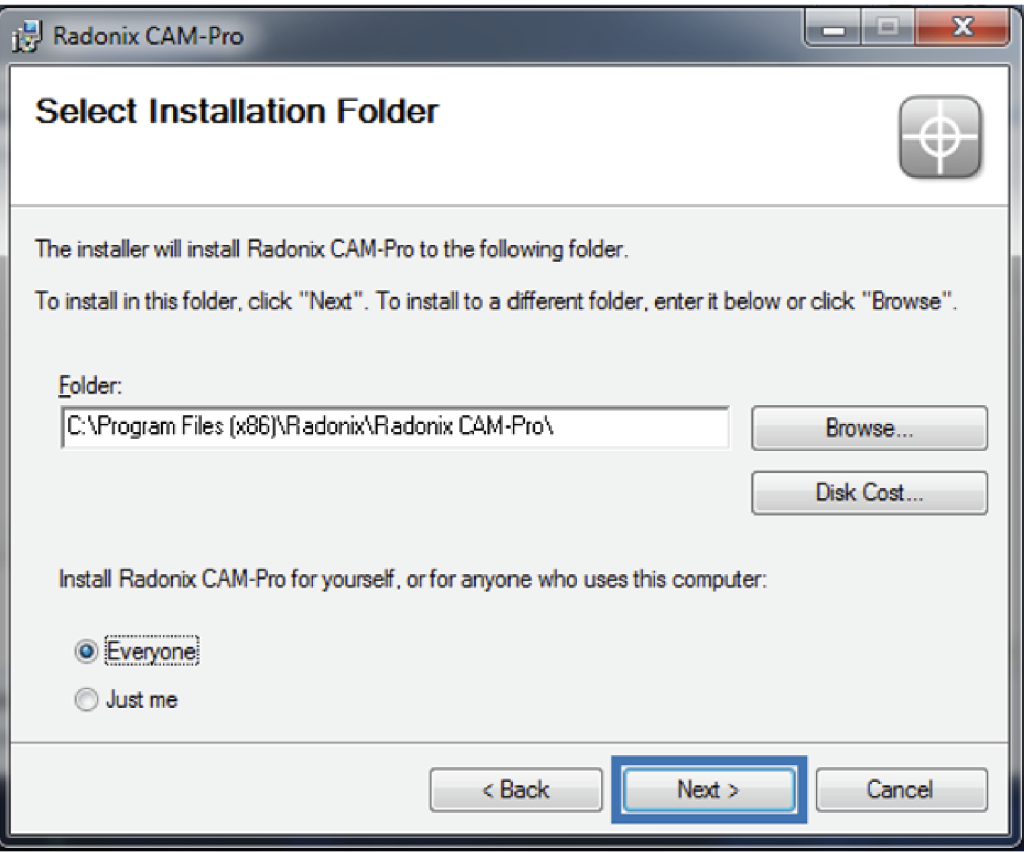 Figure (16)
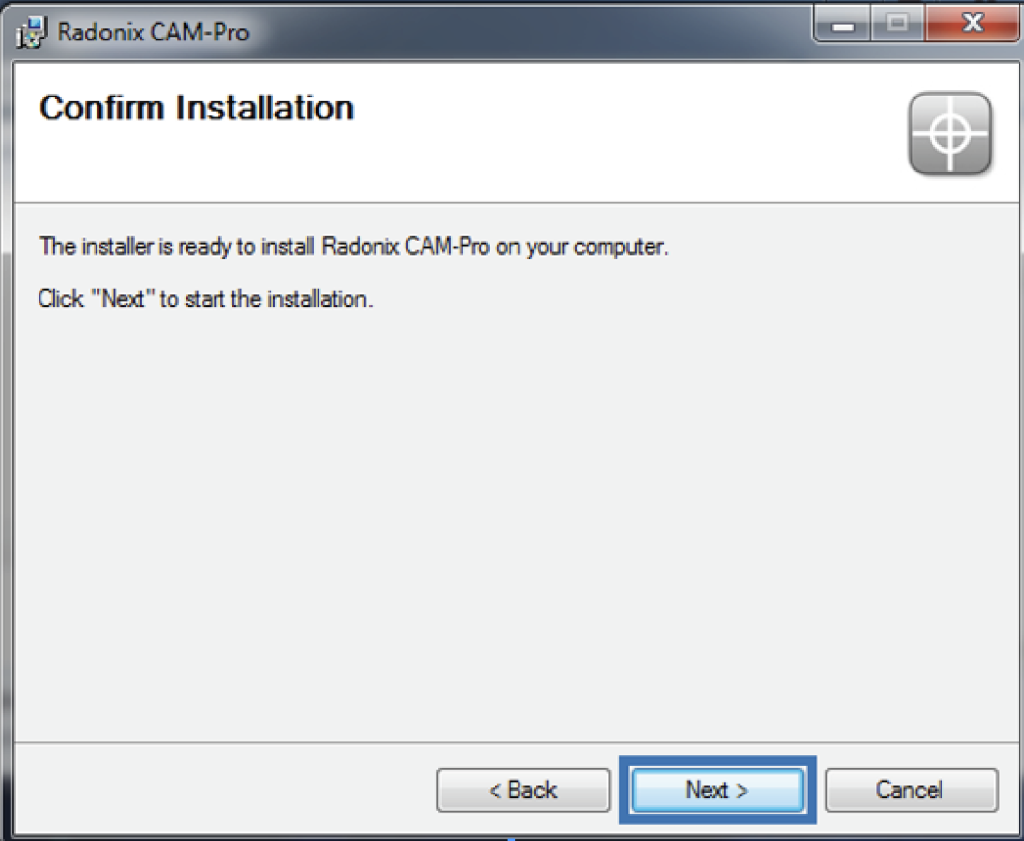 Figure (17)
 Figure (18)
 Figure (19)
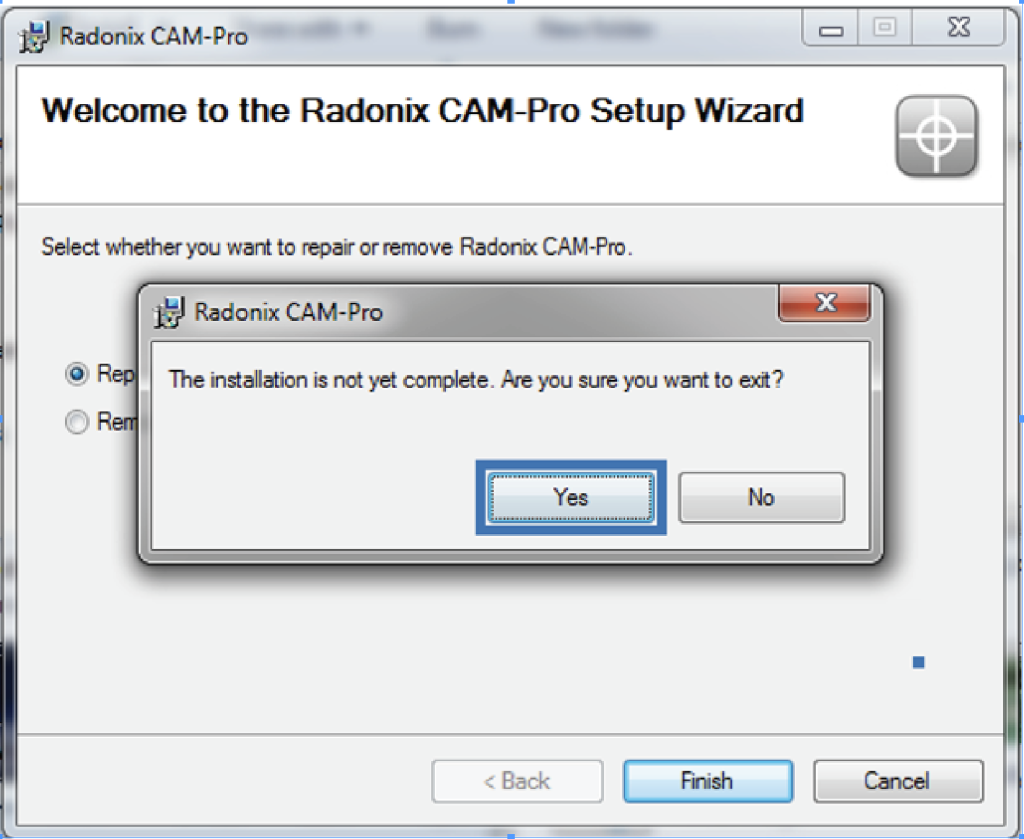
⚠️ If the user already has the software installed on their computer, they can continue by following the steps starting from Figure 20 in order to prevent the installation process from repeating.
Figure (20)
Figure (21)
Figure (22)
⚠️ After successfully completing the installation of the Radonix CAM-Pro software, the user should select the appropriate interface for their device based on the Radonix controller being used. The different interfaces and their features are thoroughly explained in Chapter 5.